Table of contents
Installing the splinky shield
For the following step, please prepare:
- keyboard assembly (x2)
- M4 screw (x2)
On the pictures, we use a Splinktegrated - those come with premium kits. The Splinky + Shield works exactly the same, so inspect the pictures carefully.
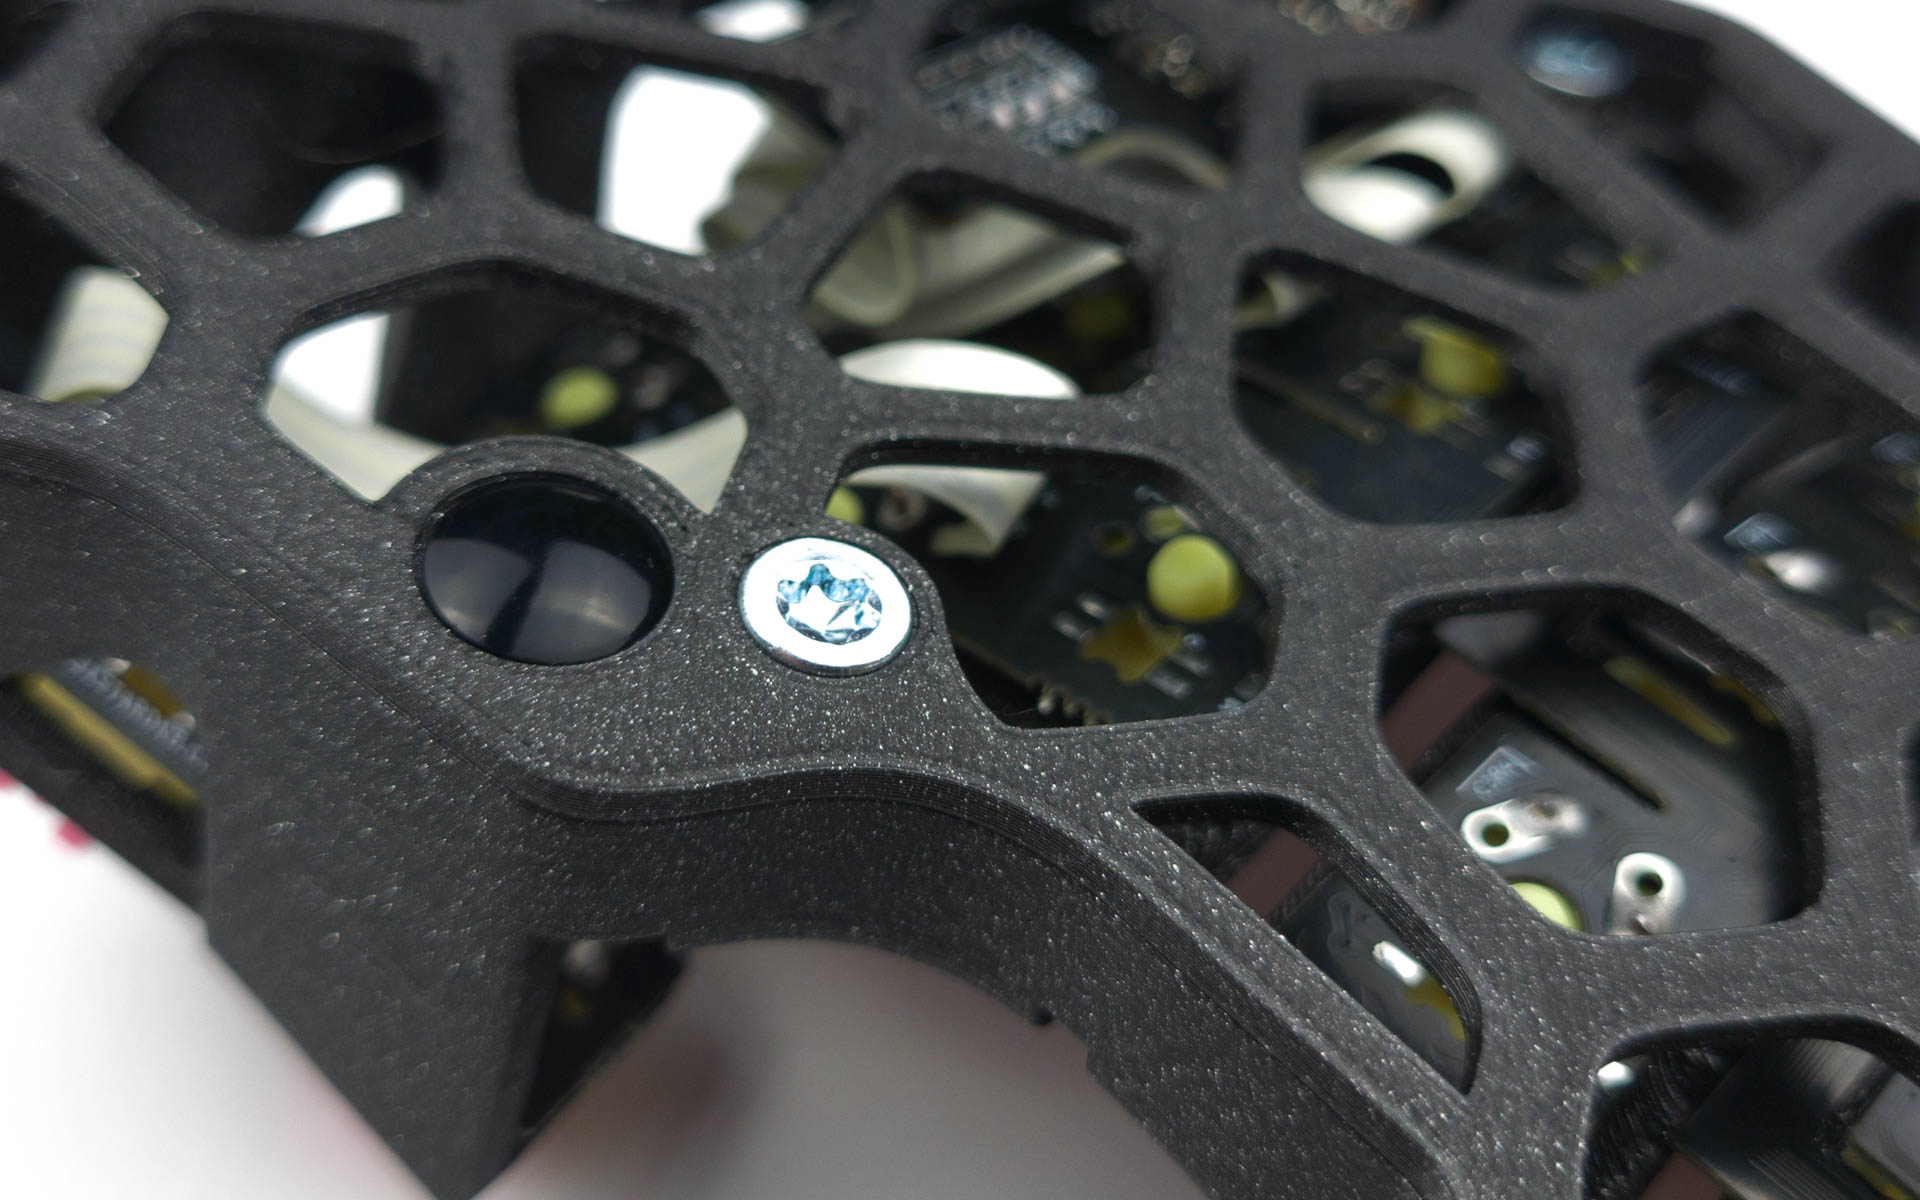
Screw in the splinky shield assembly:

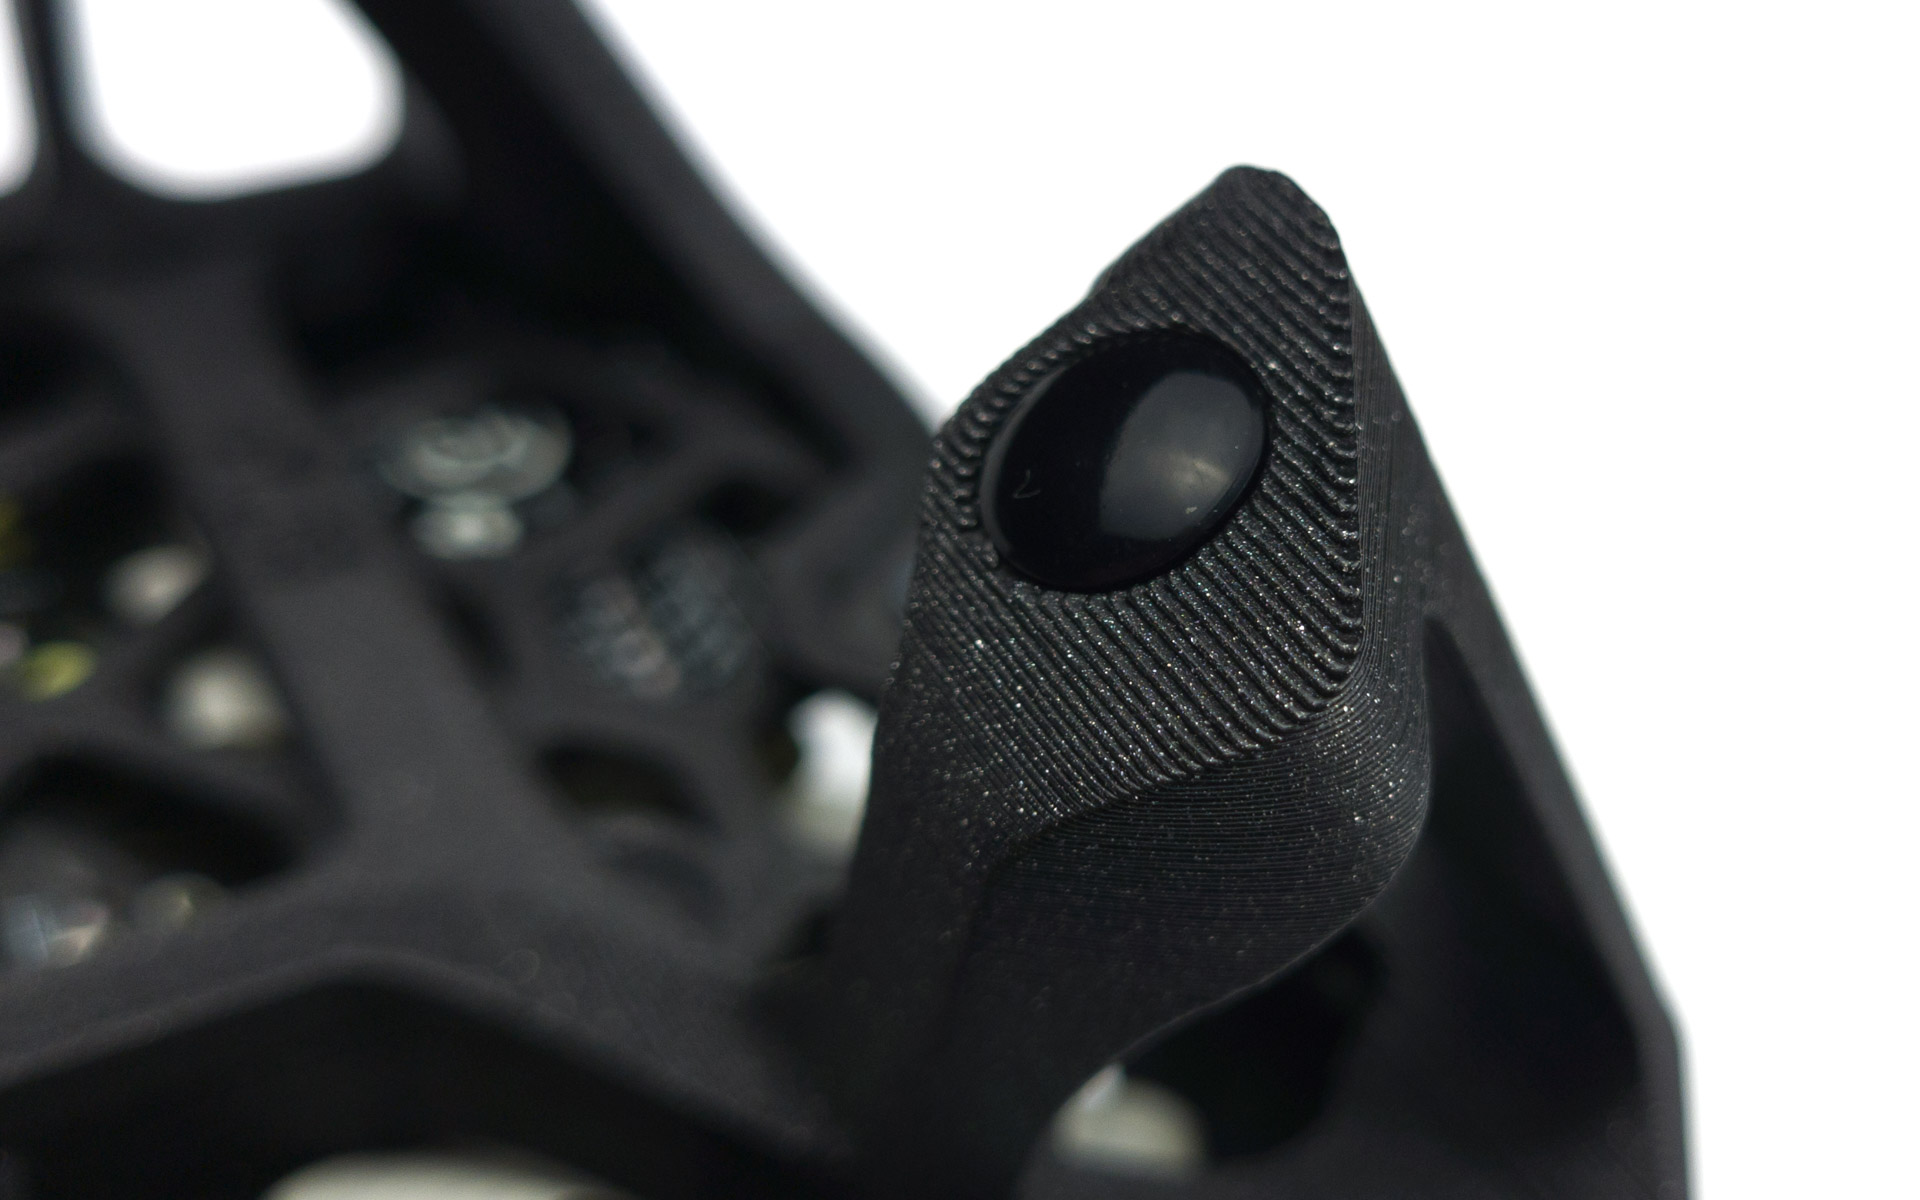
Solder the audio jack:

Do this for both sides.
Installing the plates
If you have tents, skip to the next section “Installing the tents”.
Screws
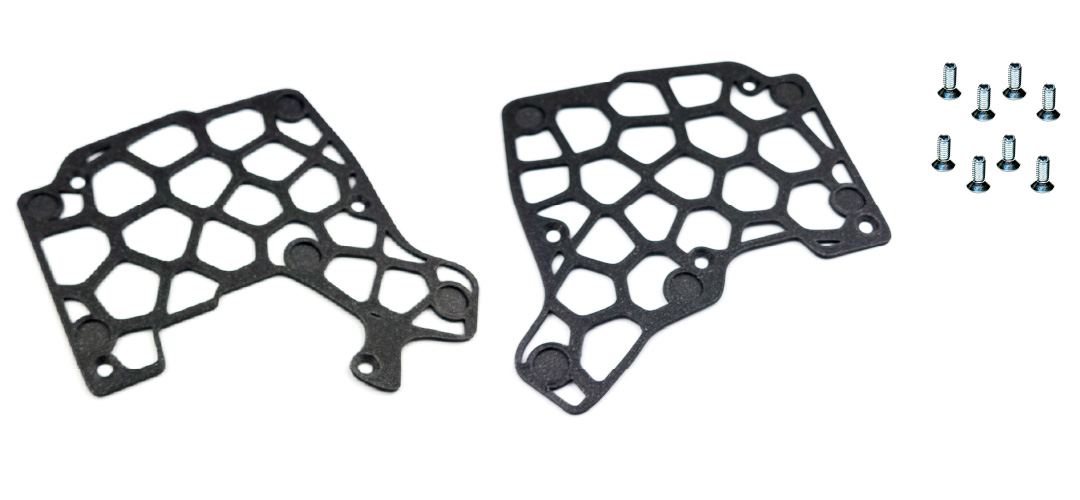
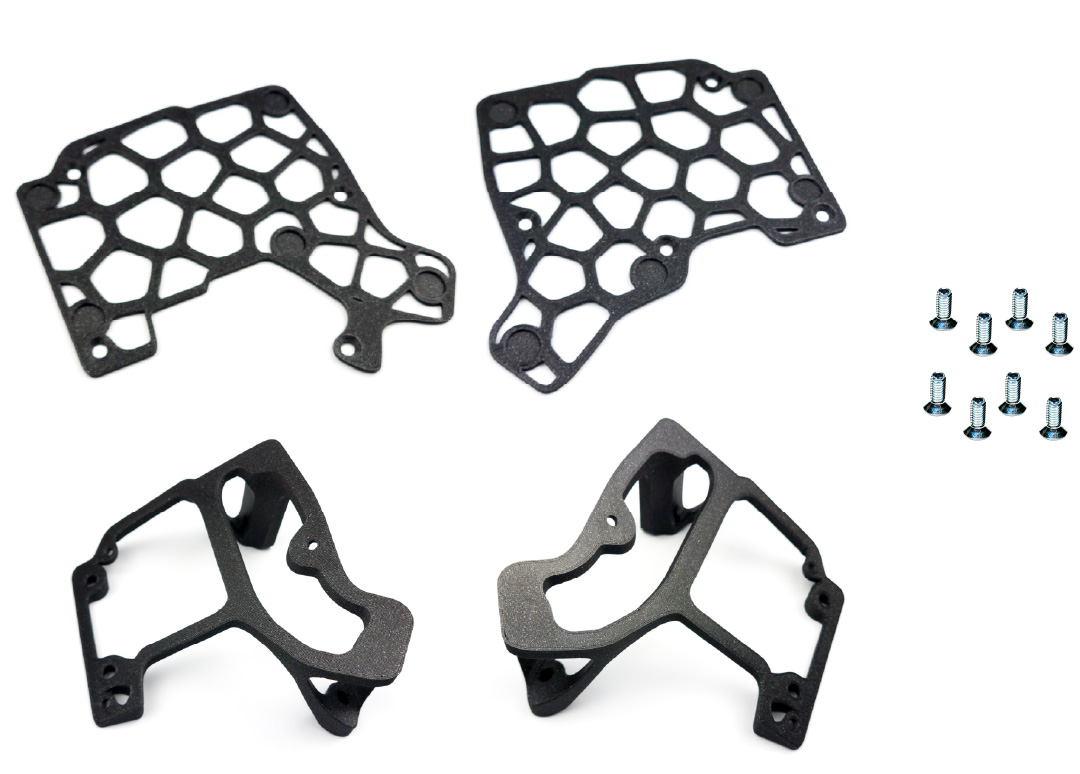
For the following step, please prepare:
- keyboard assembly (x2)
- M4 screw (x8)
- plates (x2)
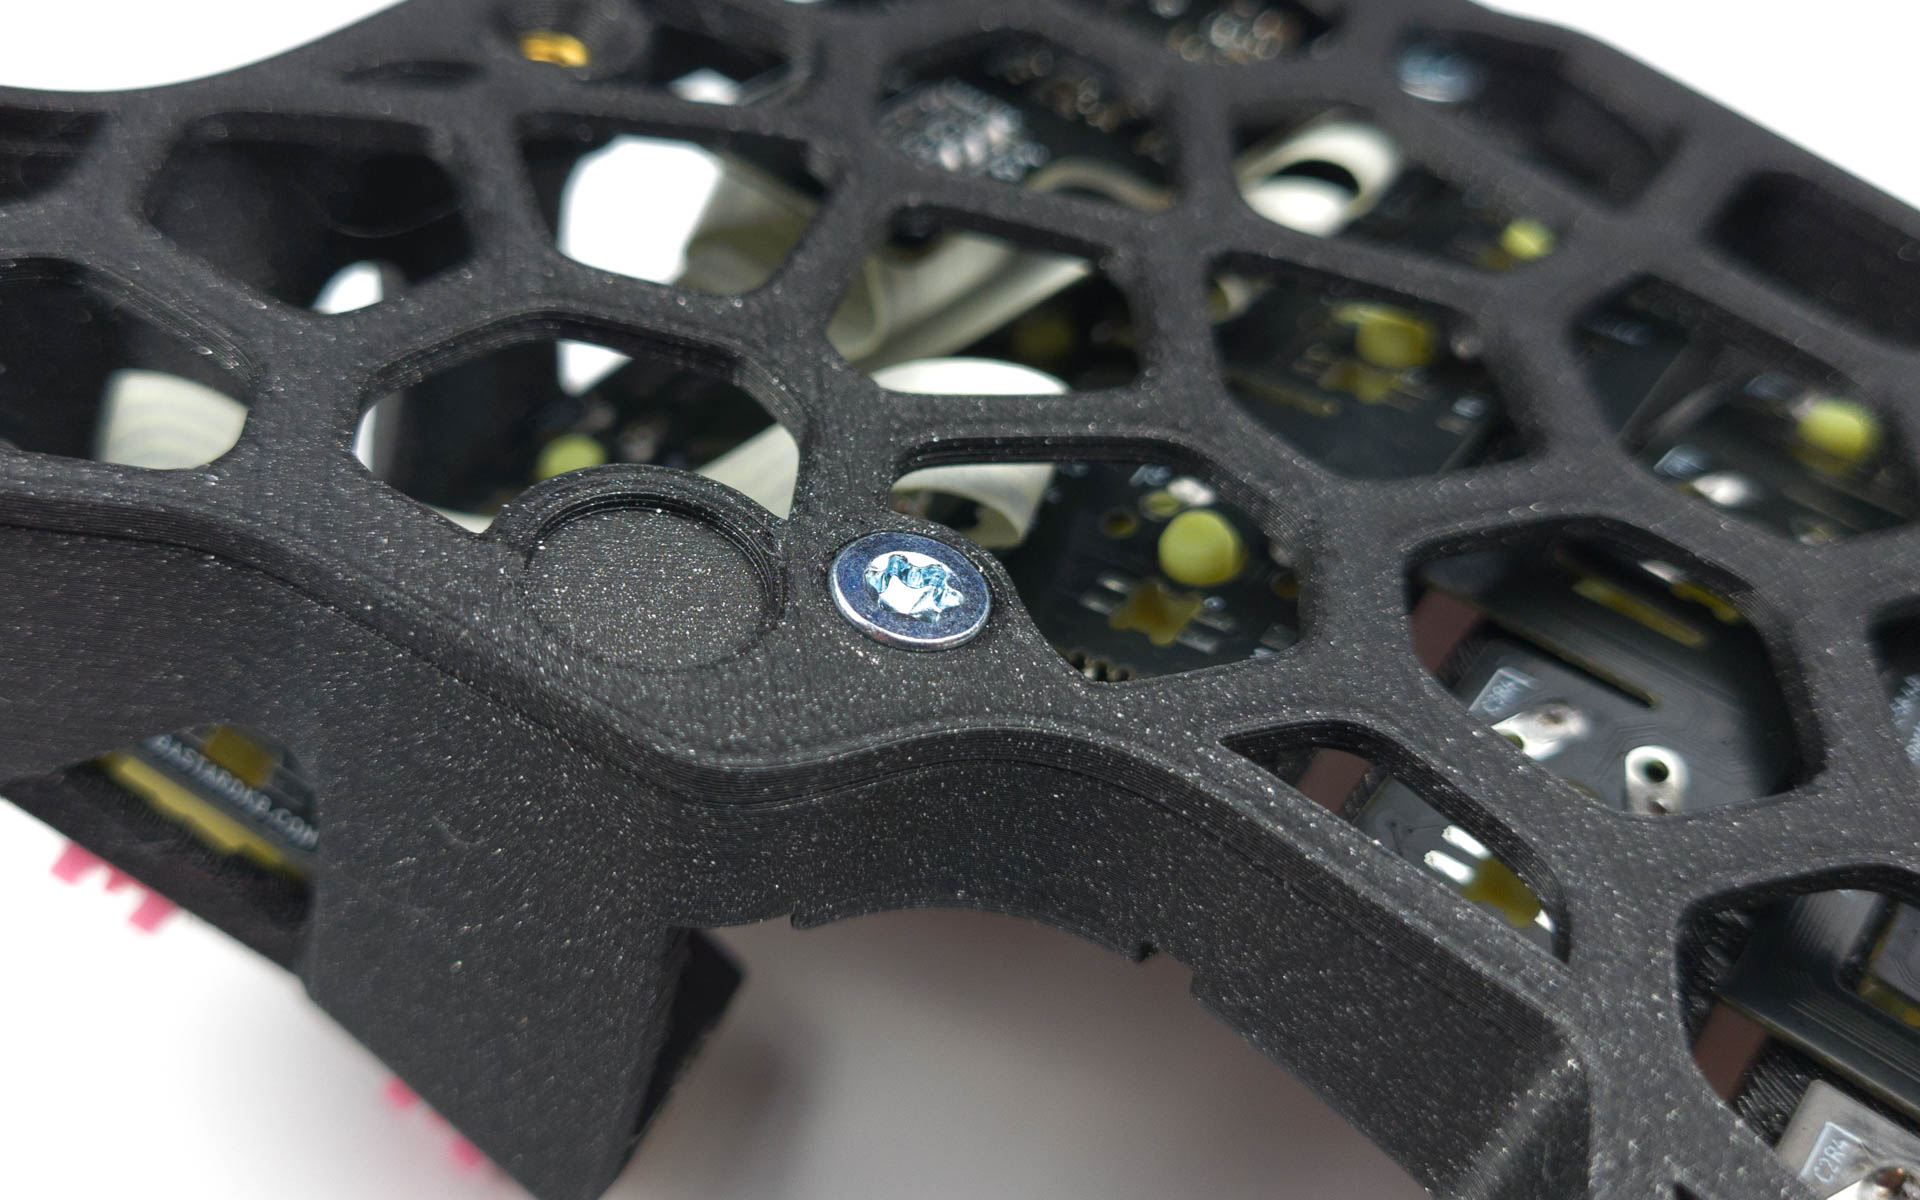
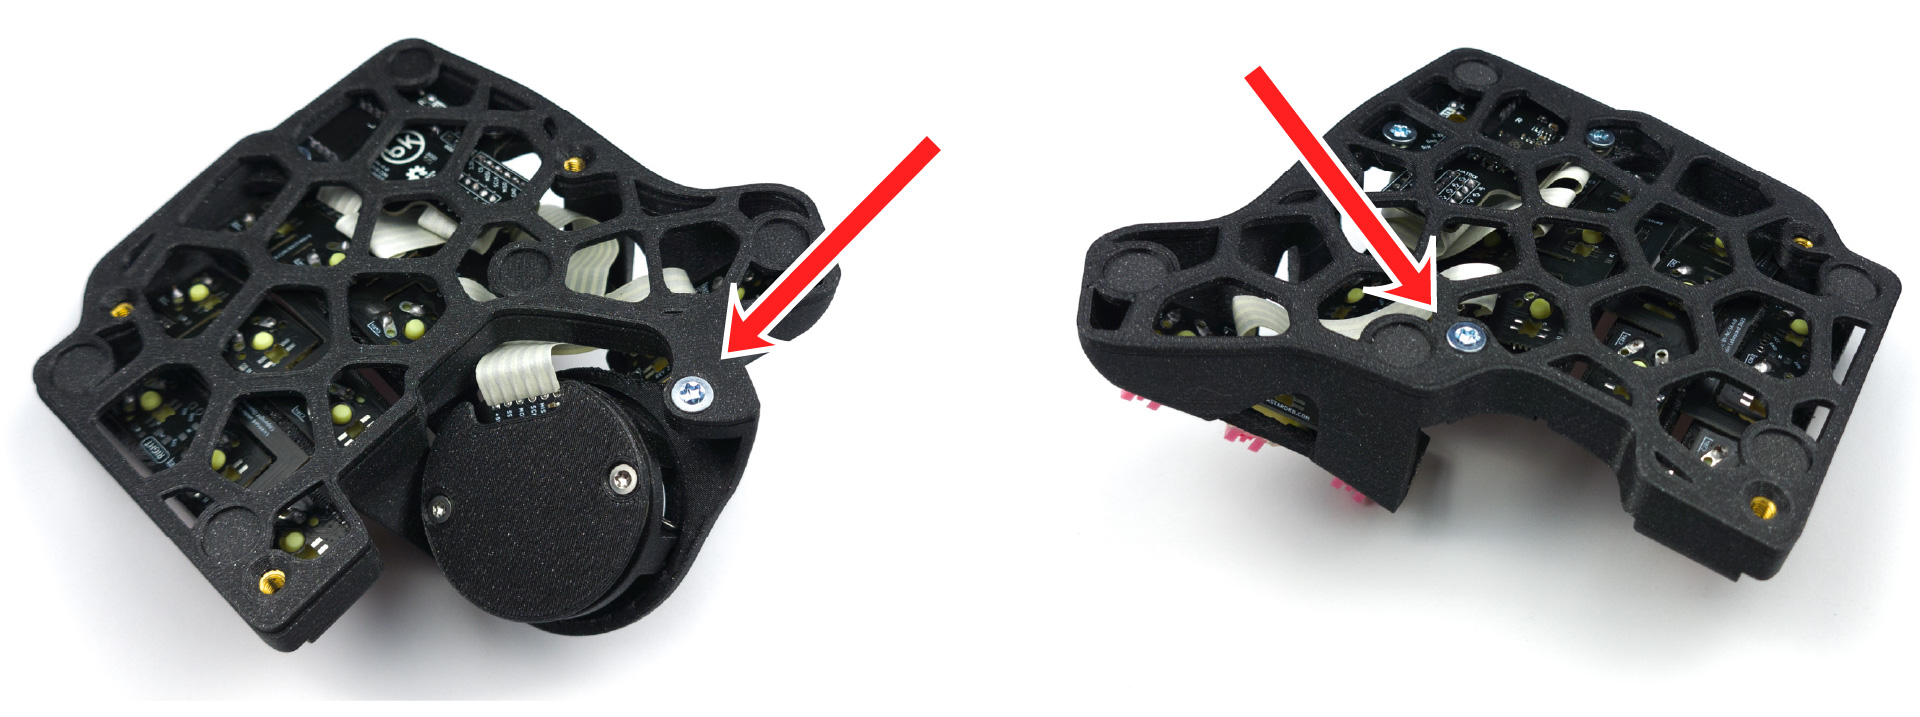
Secure the plates on the keyboard using the screws:
Anti-slip pads
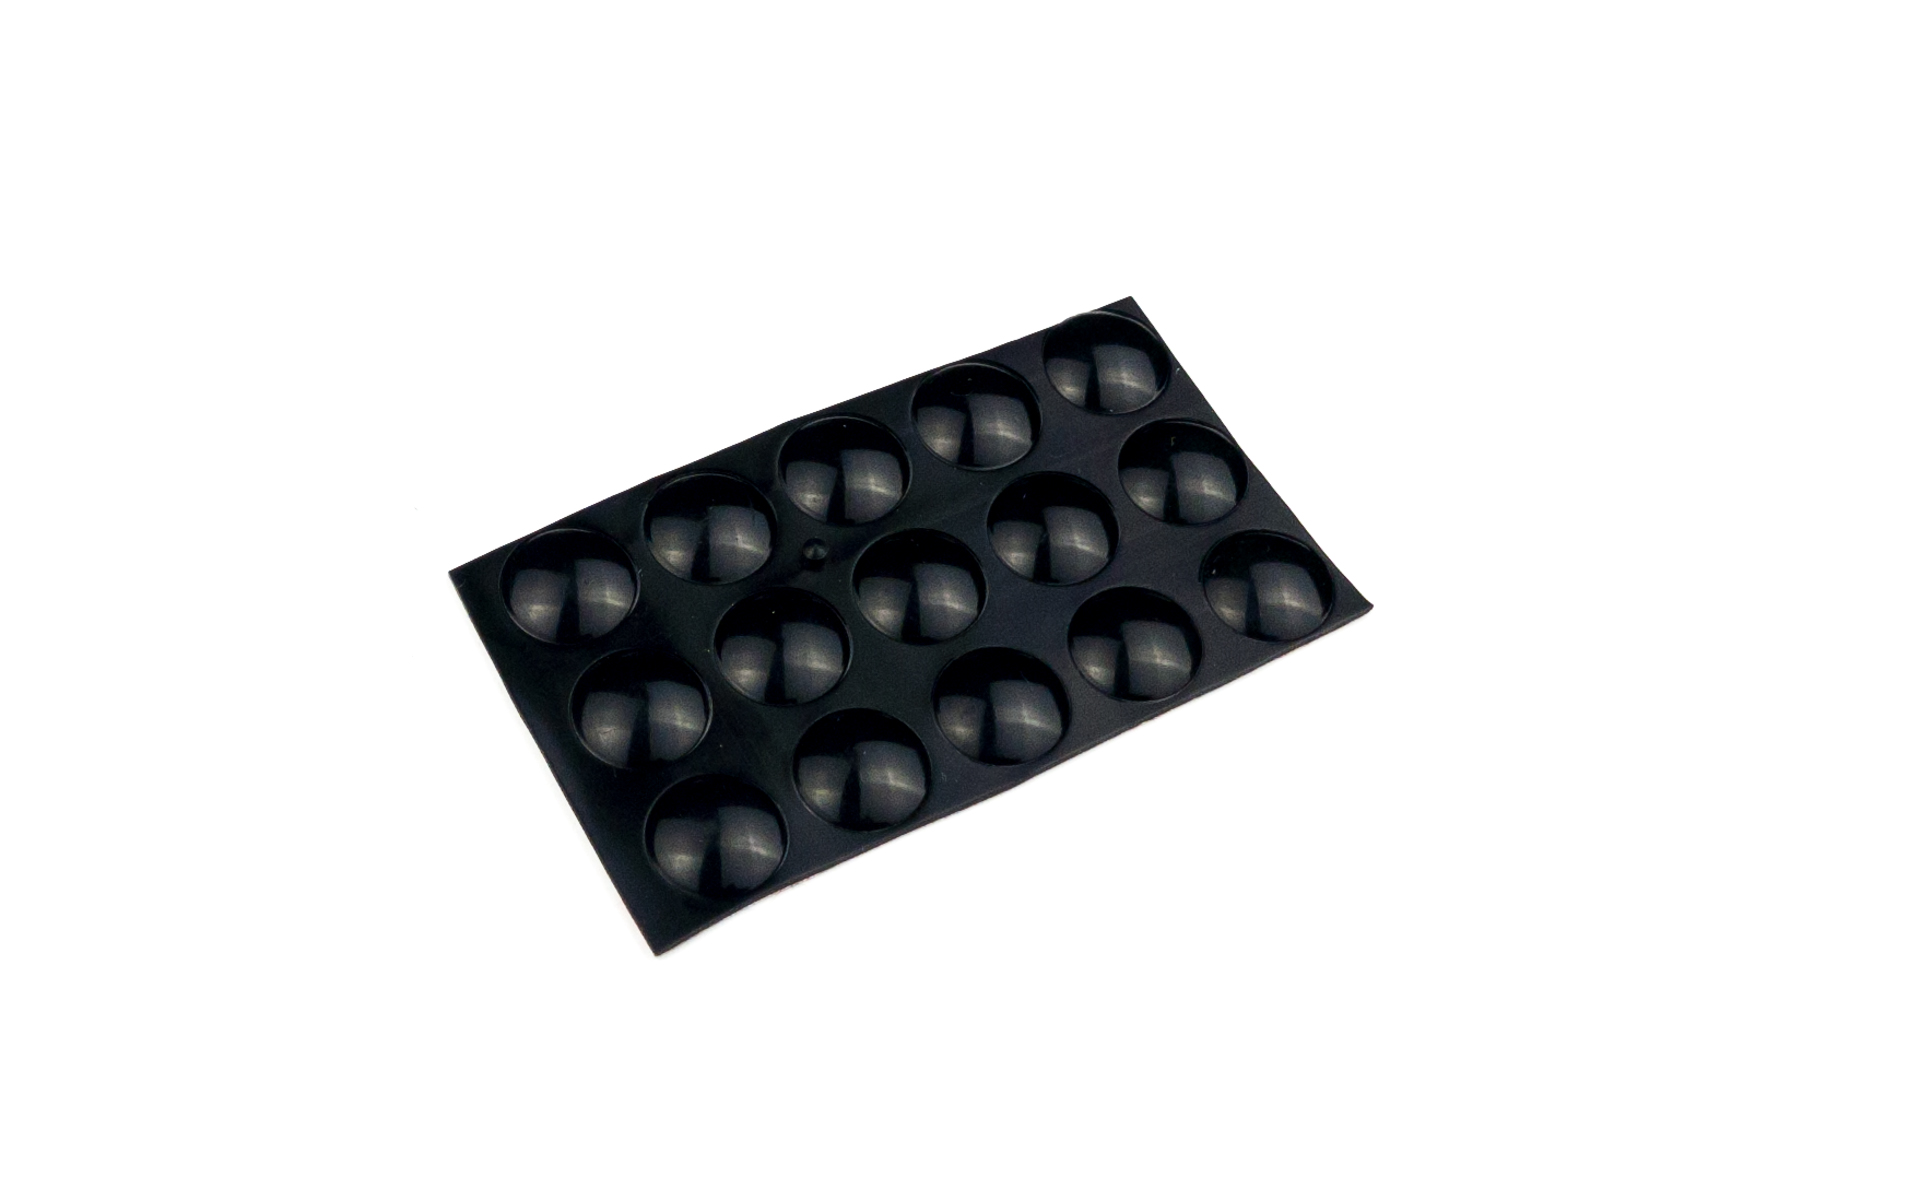
For the following step, please prepare:
- anti-slip pads (x10)
Install the anti-slip pads:
Installing the tents
This step is optional, if you have tents.
Screws
For the following step, please prepare:
- keyboard assembly (x2)
- M4 screw (x8)
- plates (x2)
- tents (x2)
Secure the plates on the keyboard using one screw at the bottom:
Install the tents with the rest of the screws: 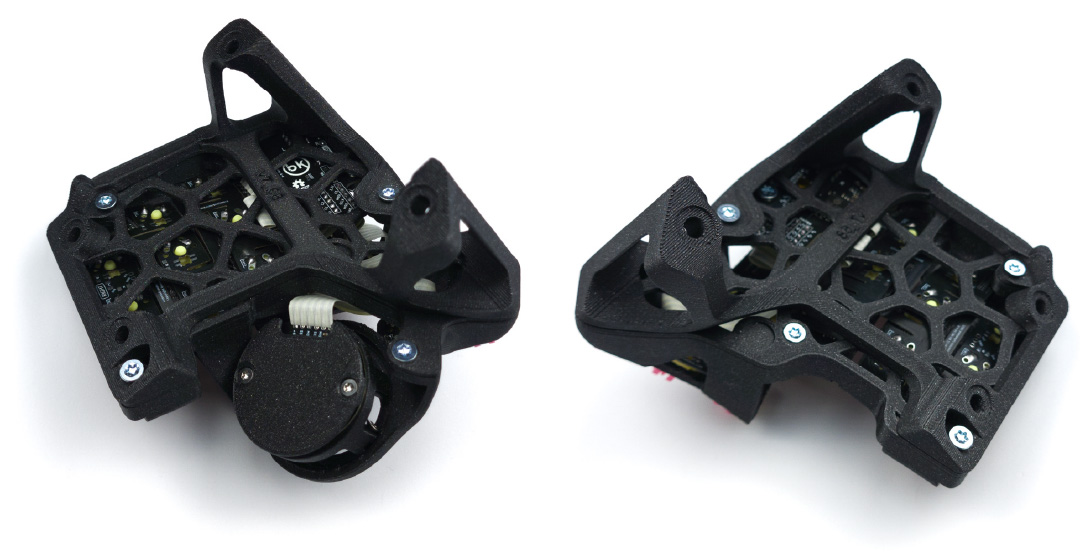
Anti-slip pads
For the following step, please prepare:
- anti-slip pads (x10)
Install the anti-slip pads: