Table of contents
Installing the splinky shield
We will detail only one side, as the other side is the same, but symmetric.
For the following step, please prepare:
- keyboard assembly (x2)
- M4 screw (x2)
Install the splinky shield using 2 screws. Solder the audio jack.
Do this for both sides.
Installing the plates
If you have tents, skip to the next section “Installing the tents”.
Screws
For the following step, please prepare:
- keyboard assembly (x2)
- M4 screw (x8)
- plates (x2)
Secure the plates on the keyboard using the screws.
Anti-slip pads
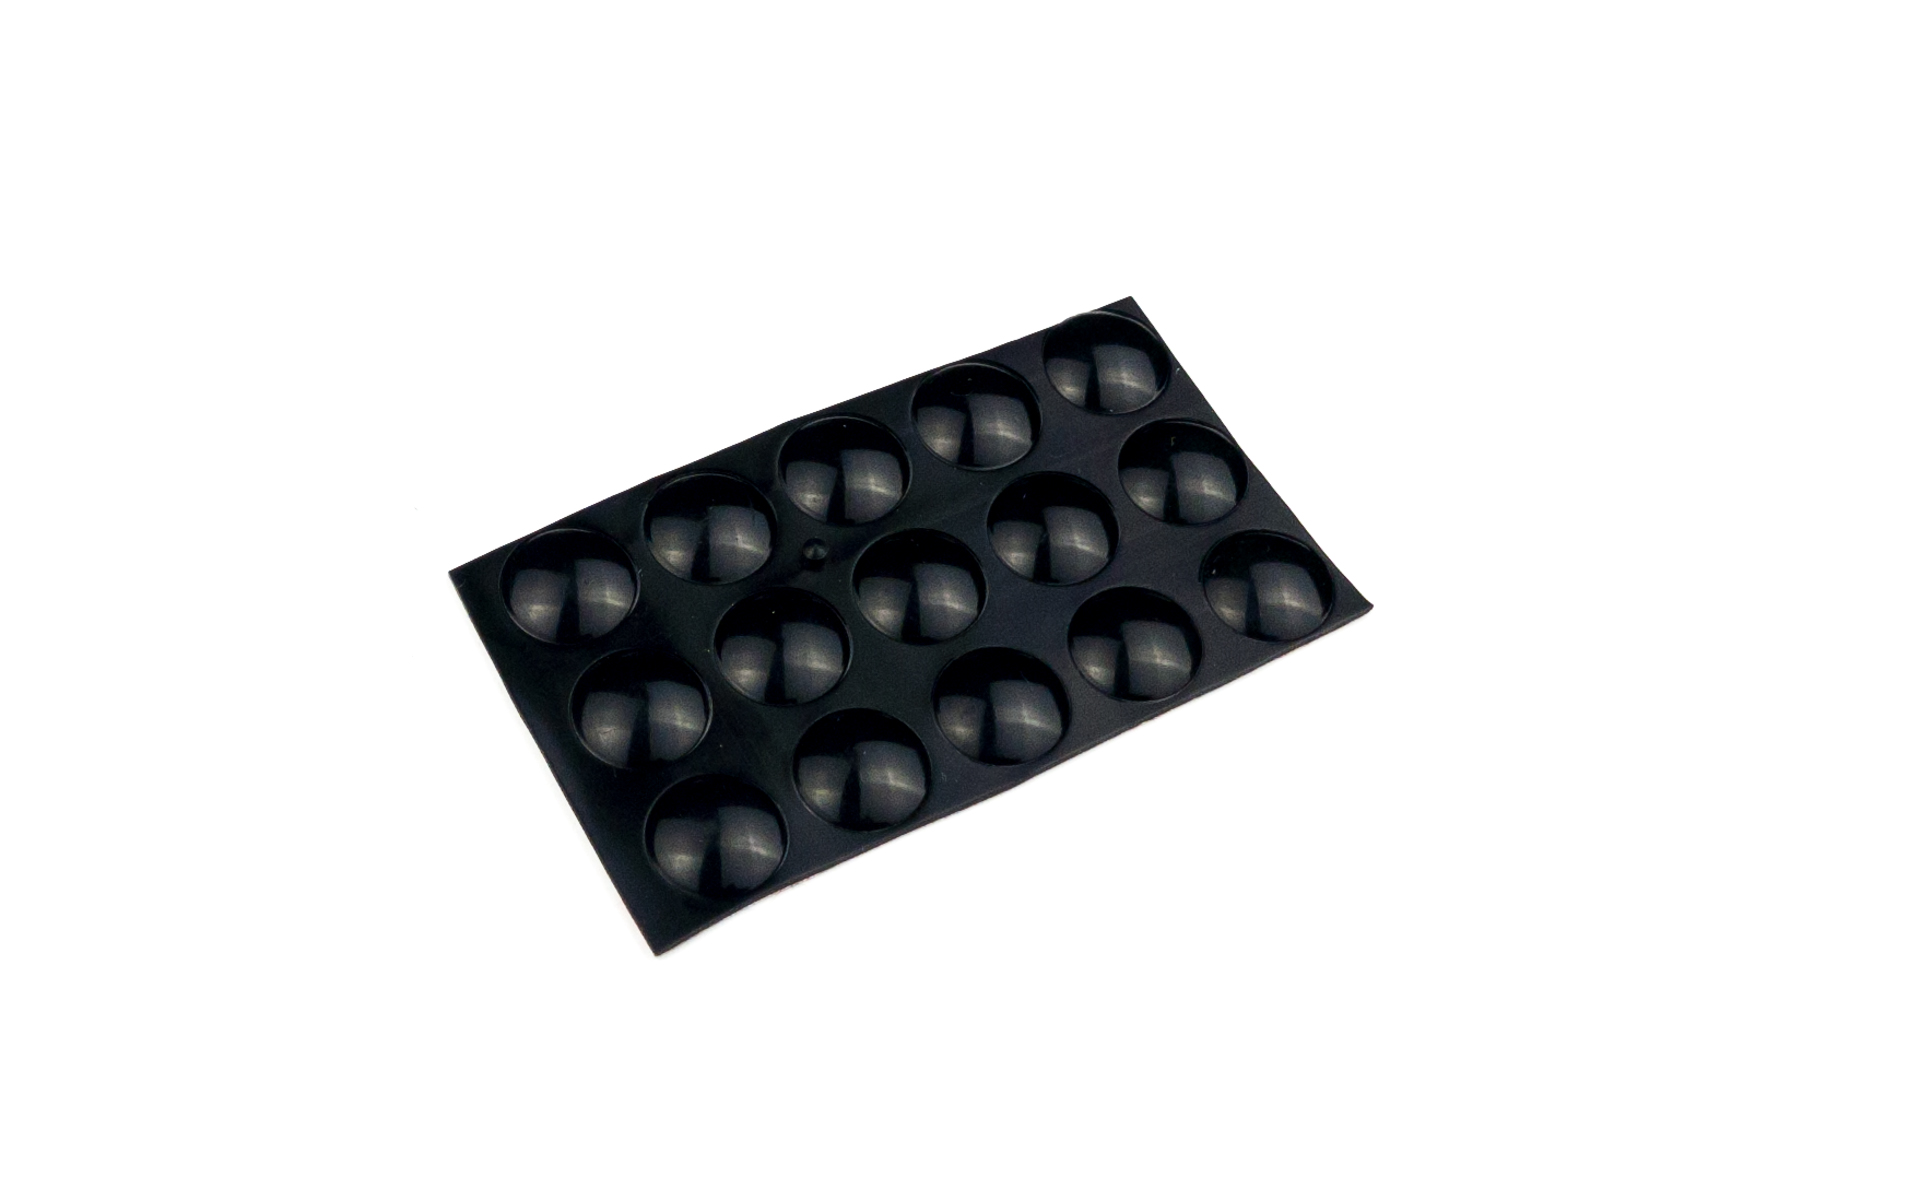
For the following step, please prepare:
- anti-slip pads (x10)
Install the anti-slip pads.
Installing the tents
This step is optional, if you have tents.
Screws
For the following step, please prepare:
- keyboard assembly (x2)
- M4 screw (x8)
- plates (x2)
- tents (x2)
Secure the plates on the keyboard using two screws, at the bottom and top.
Install the tents with the rest of the screws.
Anti-slip pads
For the following step, please prepare:
- anti-slip pads (x10)
Install the anti-slip pads.