Table of contents
Installing the splinky shield
The two sides are the same, just mirrored. We will show one.
For the following step, please prepare:
- keyboard assembly (x2)
- M4 screw (x2)
Seat the controller in the case and fasten it with two screws. Then solder the remaining pins of the audio jack - you already tacked the 5V pin so you could align it in the case.
Do the same on the other side.
Installing the plates
If you have tents, skip to the next section, “Installing the tents”.
Screws
For the following step, please prepare:
- keyboard assembly (x2)
- M4 screw (x8)
- plates (x2)
Screw the plates on until they sit flat. Snug is enough - don’t use too much force.
Anti-slip pads
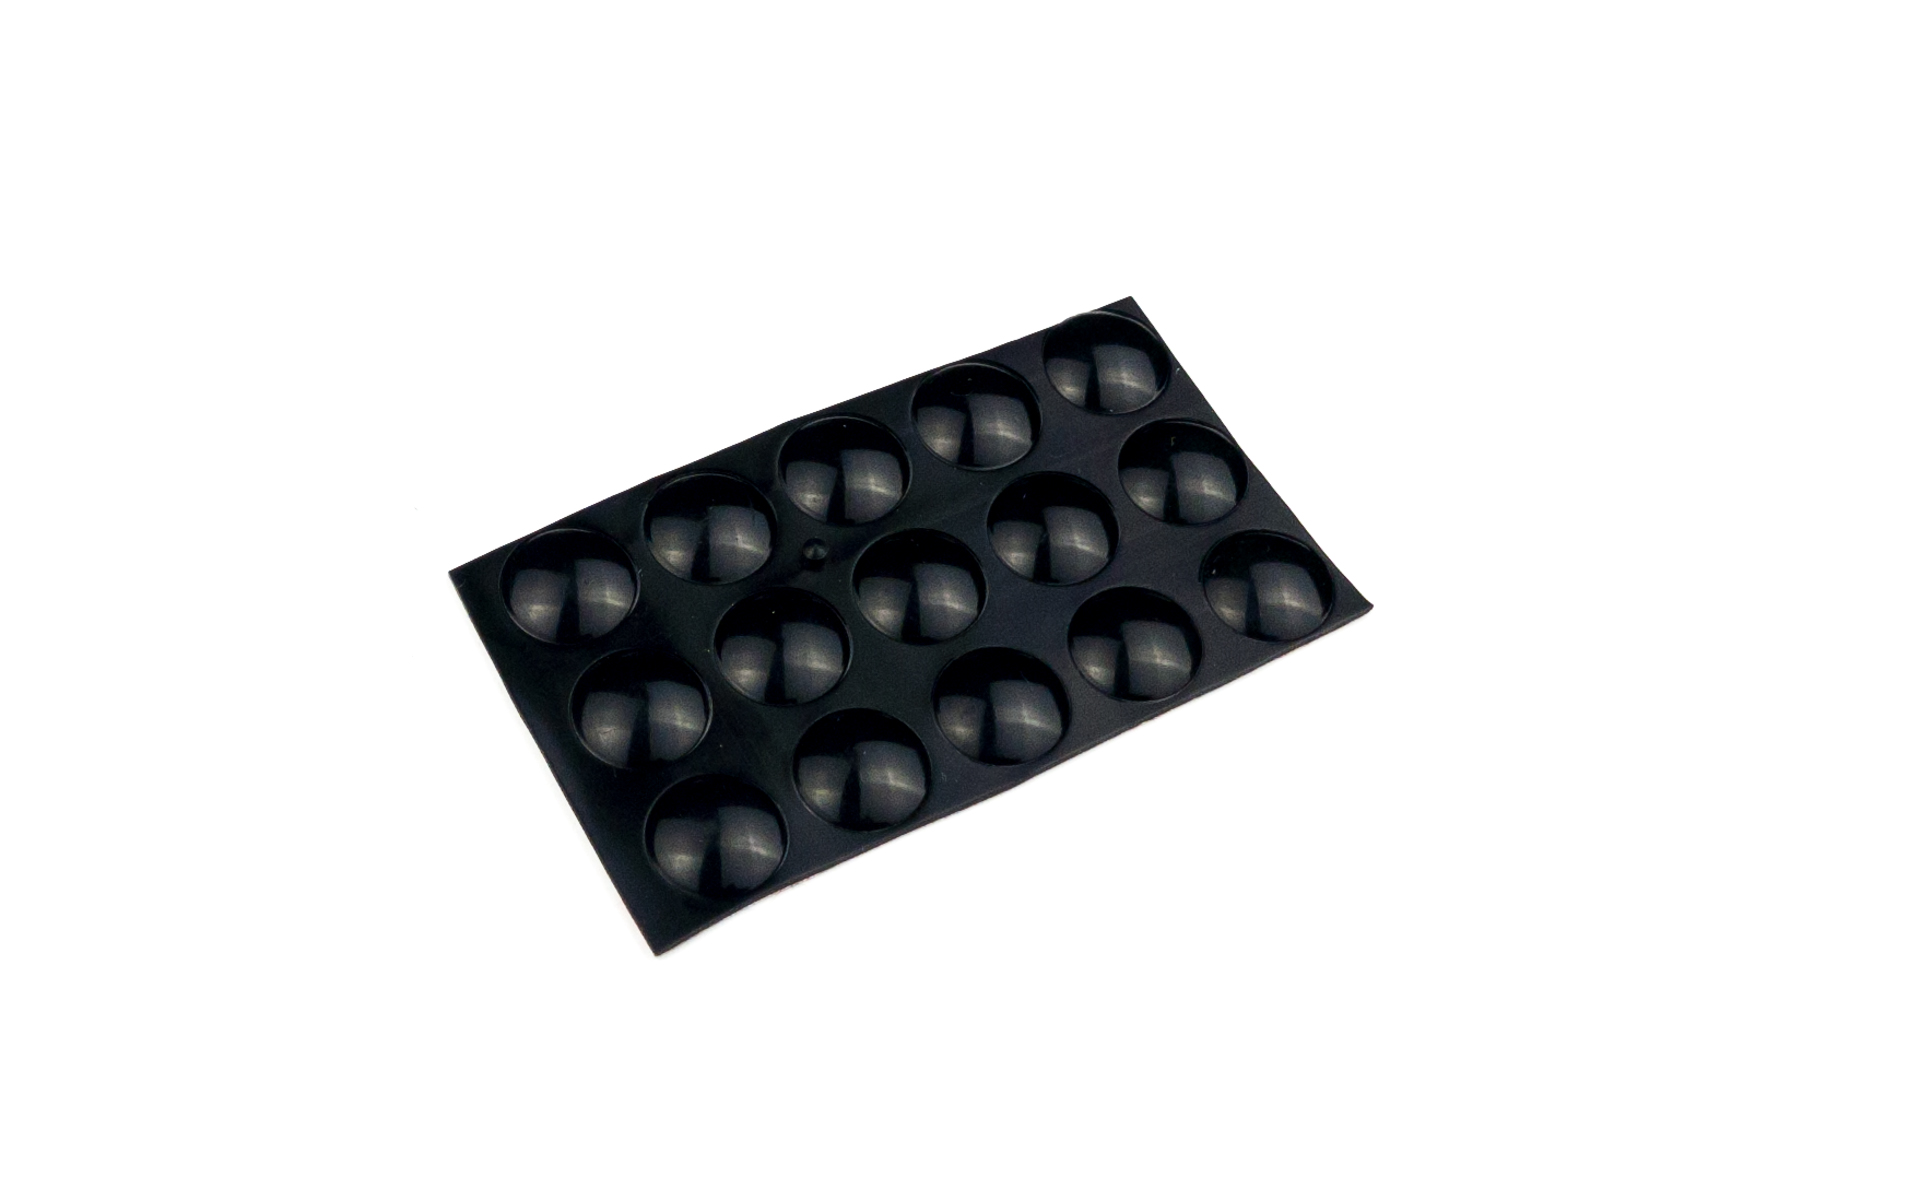
For the following step, please prepare:
- anti-slip pads (x10)
Stick the anti-slip pads onto the plates.
Installing the tents
This step is optional, if you have tents.
Screws
For the following step, please prepare:
- keyboard assembly (x2)
- M4 screw (x8)
- plates (x2)
- tents (x2)
Fasten the plates with two screws, at the bottom and the top.
Install the tents with the remaining screws.
Anti-slip pads
For the following step, please prepare:
- anti-slip pads (x10)
Stick the anti-slip pads onto the tents.
The case is closed. The next page covers daily use and how to customize the keyboard.